Are your muscles sore due to an uncomfortable bicycle seat? Whether it is the soreness of your muscles, chafing of your skin, or simply the thought of making your bike more comfortable, anything could make you want to install a new bike saddle and discard the old one.
When I bought my first bike, I used to feel every bump on the road because of the poorly-designed saddle of my bike. In no time, I realized that it needed a replacement as it was not supporting my sit bones properly. But being a beginner, I had no idea how to install a bicycle seat. I didn’t even know the steps to take my old bike seat off.
If you relate to this, this guide is definitely for you. Now that I have learned and effortlessly replaced innumerable bicycle seats, I can assure you that it is an easy job. But before we know the right way to install a new bicycle seat, let’s check out the steps for removing the old one.
Bikesolved.com is readers supported, you may find Amazon affiliated links on this page, that pays us commission for recommending products at no extra cost to you.
Steps to remove old bicycle seat
1. Arrange the tools
The process of removing and installing a new bicycle seat requires a few installation tools. You will need a hex wrench, as most bicycle seats are secured by a hex bolt. Make sure this hex is ideal for the size of your bike seat clamp bolt. The most important thing you will require is obviously another saddle.
Make sure the new saddle you get has ideal proportions as per you and your comfort; otherwise, the discomfort of an inappropriate bike seat will continue to exist. While adjusting the seat properly, you may require a lube, plumb bob, towel, and other cleaning items.
2. Set up an appropriate place
You should look for a proper working place with a wall to lay your bike and have better access to its saddle. You can also use your bike stand instead, which will do an excellent job of letting you work with the bike seat. The place you choose should ideally be free of disturbances.
3. Unscrew your bike seat’s clamp bolts
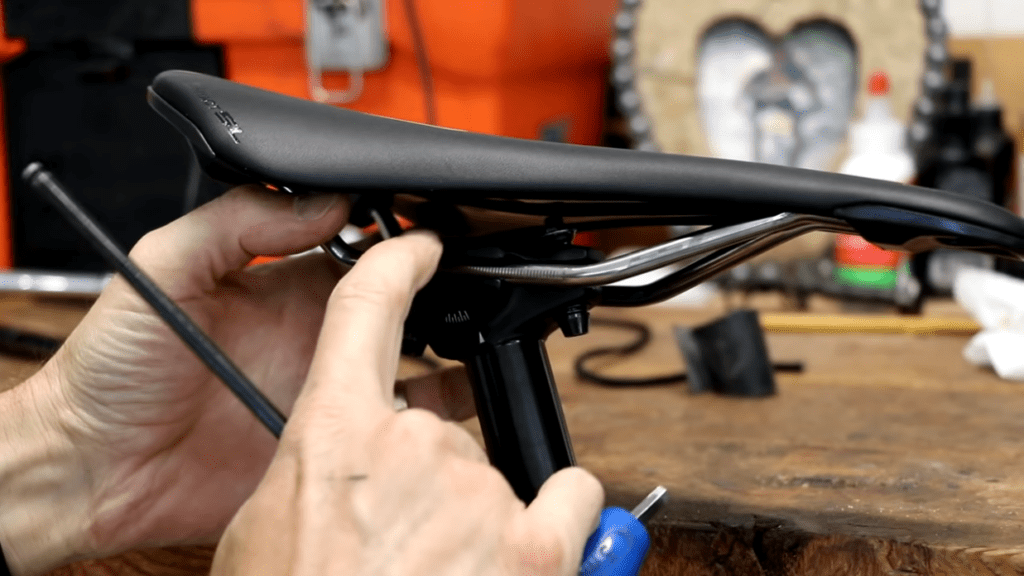
Once you have the tools and access, you should proceed to unfasten the bolts of your old bike seat. You can do so using your hex wrench by rotating it counterclockwise to separate the metal saddle clamp from the bike seat post.
Just rotating the wrench two to three times will do your job, as you may not require to remove it altogether. Make sure to remove the bolts simultaneously if there are two of them, as it will prevent the thread from stripping off.
4. Take the saddle off
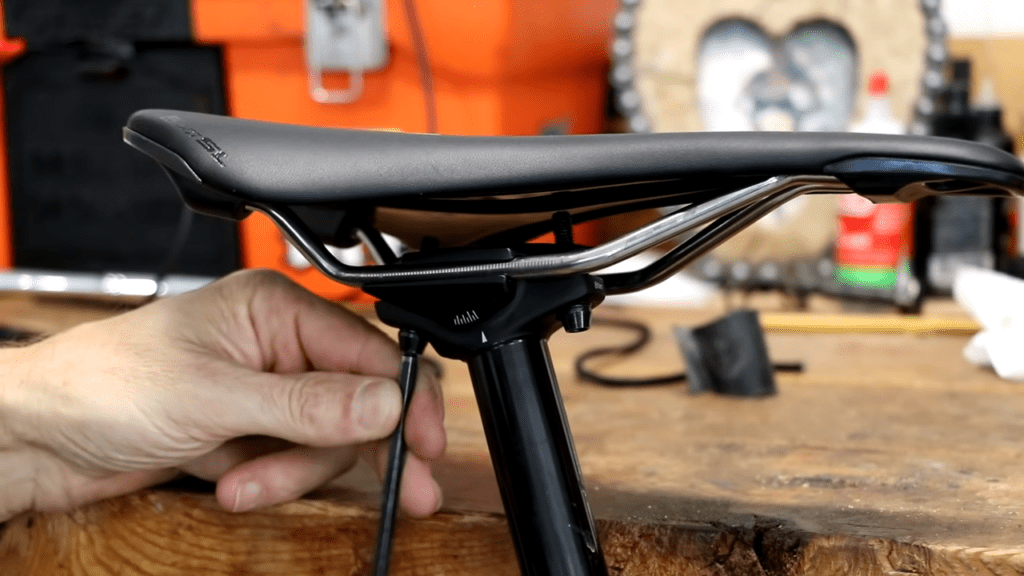
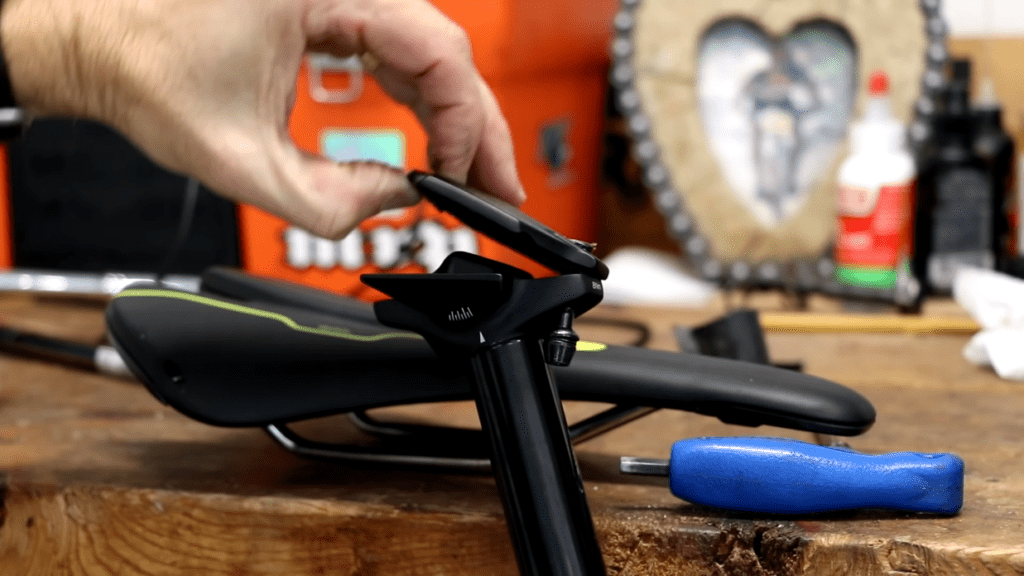
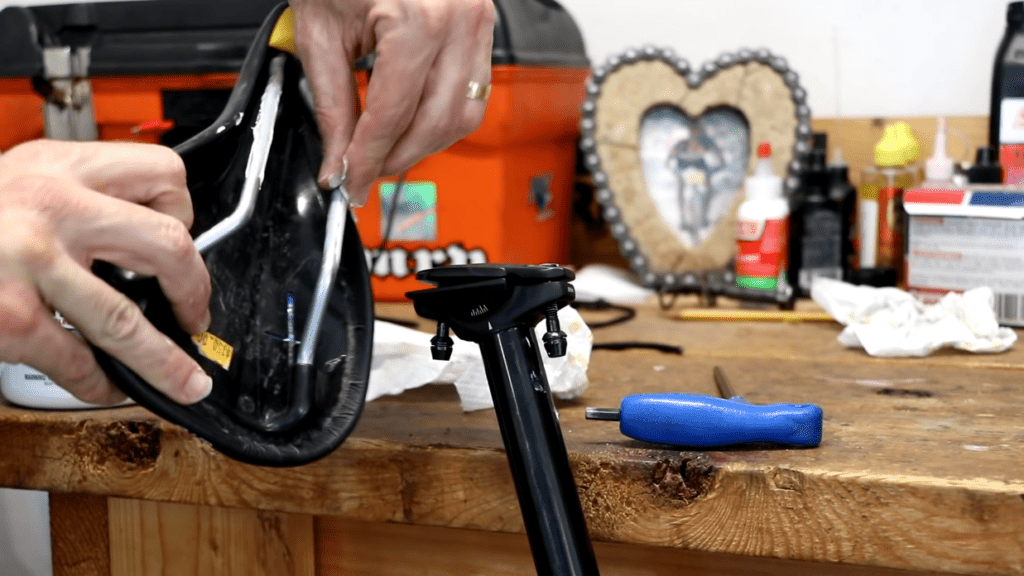
Now that you have unfastened the bolts, you will be able to take your bike’s old saddle off by accessing the thin metal rails that can be located between the lower and upper clamp jaws underneath the saddle.
You can do so by slightly lifting the upper claw jaw. This will make the saddle rails free, allowing you to pull the seat up effortlessly. If you are unable to disengage the jaws, you can completely take a bolt off.
5. Clean up the residue
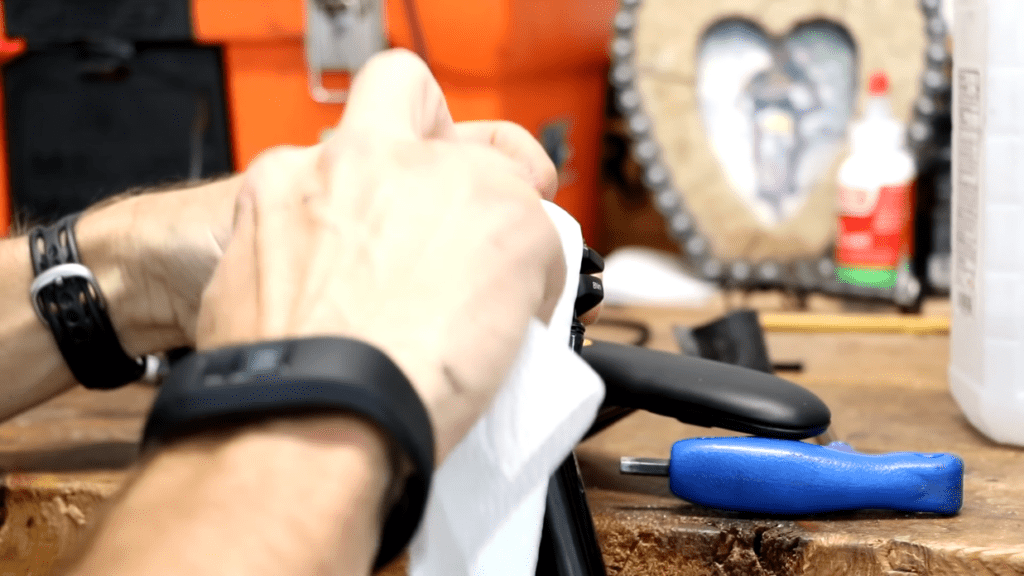
If you fail to clean up the dirt before putting on the new bike seat, the residue will make your experience worse with all the squeaking noises. Before you rush to put up a new and appropriately-sized saddle, get these particles of dust, residue, and dirt away from the seat post clamp.
With a clean clamp, your new bike saddle will barely creak. To do the cleaning part, you can get a wet towel and wipe the clamp, especially its channels and sides of the jaws.
Steps to install new bicycle seat
1. Lubricate the new bike seat
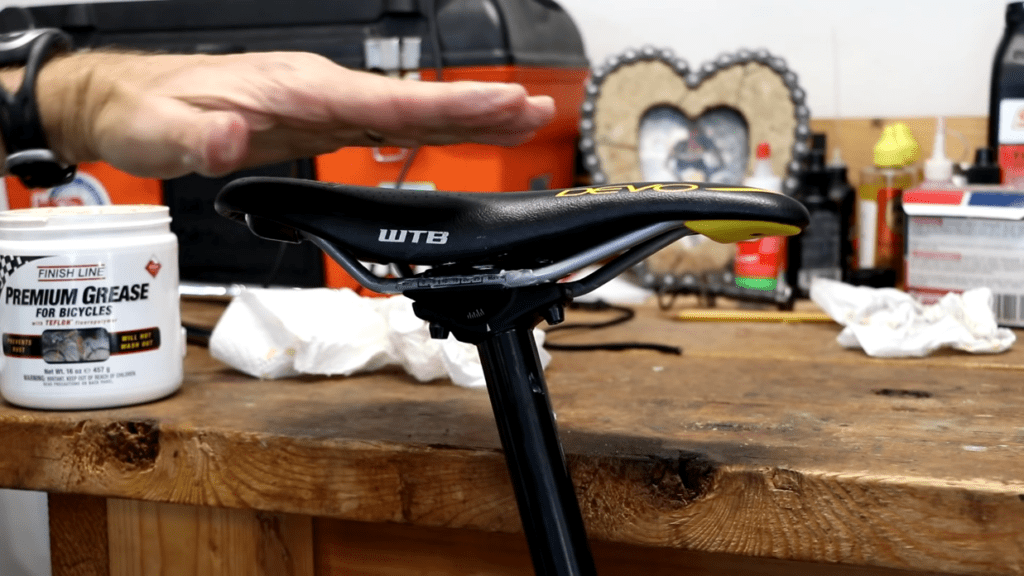
It is very important not to rush into putting the saddle on. After cleaning up the dust and dirt, make sure to prepare your bike seat before placing it. Use lube to lubricate the bolts. Do not forget to lubricate or grease the rails of your new bike seat while you spread the lubricant over the threading.
You may use a paper towel to do the same. To avoid squeaking noises and enhance moisture resistance, using good-quality lube holds the utmost importance. You can even insert the bolts inside of the clamp to allow for an even distribution of lube.
2. Position the saddle rails on the clamp
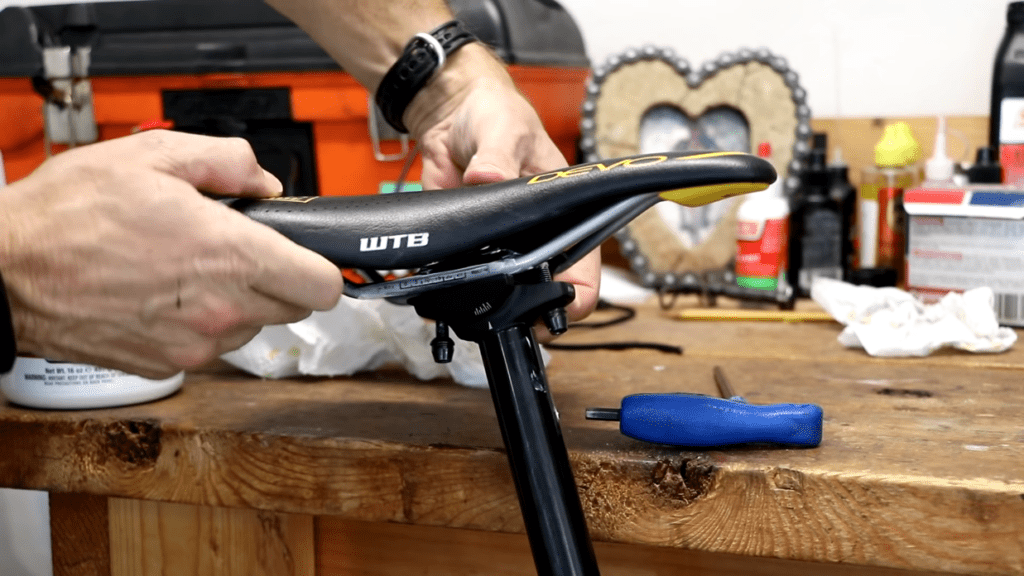
Once you feel your saddle is lubricated and prepared for getting set up, you should focus on positioning the rails of your new saddle on the channels of the bottom clamp. While placing it, ensure that the front portion of your bike’s saddle is pointing toward the handlebars of your bike and you are able to move the bike saddle around comfortably.
The new bike seat should be appropriately aligned along the bike frame. Make sure to hold the saddle and position it in the right place. However, in some cases, your new saddle may not have rails at all. In that case, you should simply connect the saddle to the seat post by sliding it inside the hole located at the bottom part of your bike’s saddle.
3. Secure the bolts
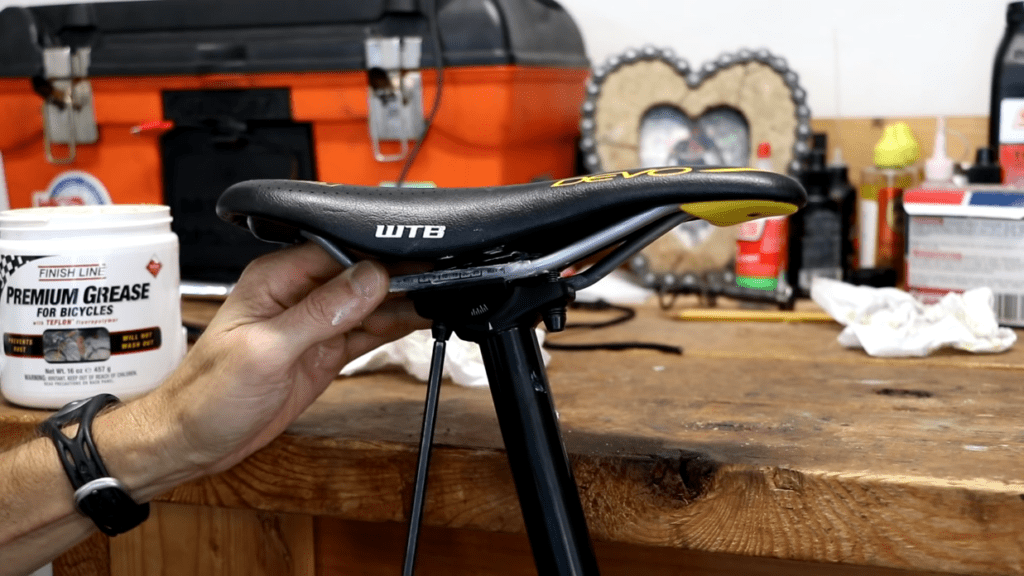
Once your new saddle is properly placed over the seat post, your work is not done yet. It is crucial to hold the new saddle in position and secure it by tightening the clamp bolts. Begin by using one of your hands to hold the saddle in its position, as set earlier.
Make sure it does not move around while you use another hand of yours to tighten the clamp bolts. To do so, you can bring in your hex wrench while rotating it clockwise until the seat post bolt feels tight enough. If there are more bolts in your clamp, you should screw them equally and evenly.
This will not only ensure accuracy but also help you avoid damage. Make sure not to screw the saddle too tight if you still wish to be able to wiggle it around and adjust it whenever you want. At the same time, your saddle shouldn’t be too loose either, and it should be tight enough not to move on its own.
4. Adjust the height of the seat post
Adjusting the height of the seat post according to your height is really important, and its significance cannot be over-emphasized, especially when you are just done putting on the saddle.
To enjoy a safe and comfortable ride, having a well-adjusted seat post is definitely essential. Find the place where your seat post connects with your bike frame. Use your wrench to unscrew the bolts until they loosen a little.
You should do it until you are able to wiggle the saddle to move it up and down. You can lift the seat post or lower it down as per your measurements and convenience. To avoid the seat post sliding back to its original height, do not forget to tighten its bolt.
5. Test the comfort
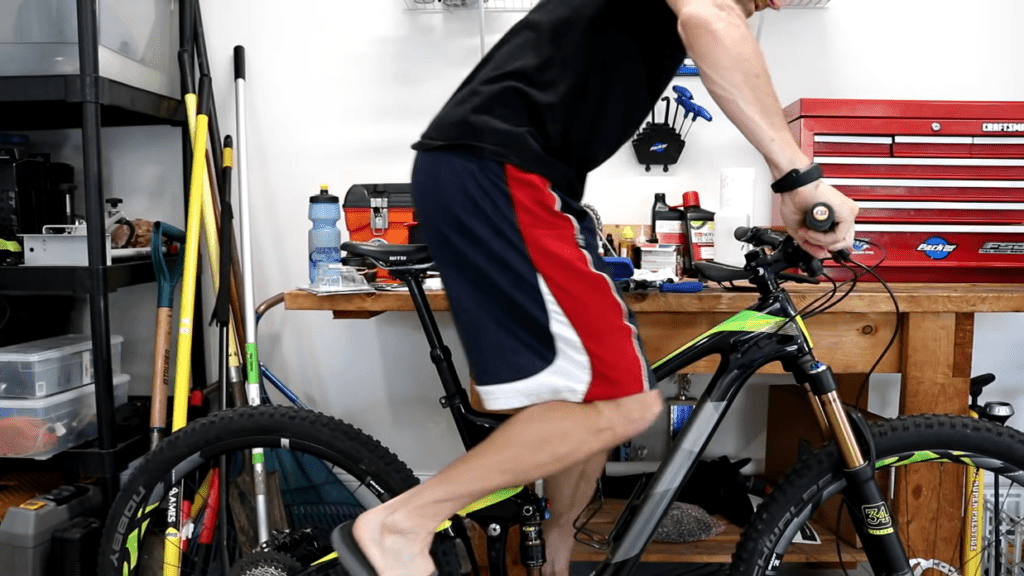
Once you’ve made all the adjustments to the height of the seat post, sit on the saddle to check your posture and comfort. You should be able to reach the handlebars without any discomfort, and your sit bones should be supported sufficiently.
If your back is arching or bending downwards, make sure that this position is not putting unnecessary strain on your back or shoulders; otherwise, you may face back problems. If your elbows, wrists, or shoulders feel cramped, your bike seat may be extra close to your bike’s handlebars.
At the same time, if you feel like your back is completely arched towards to handlebars and you are in a position where overextended wrists and arms are the only way to reach the handlebars, your bike seat may not be as close to the handlebars as it should be. You should adjust the bike seat forward and modify the distance between your saddle and handlebars until it is perfectly comfortable.
Conclusion
After reading the above guide about installing a new bike seat, you will have understood how easy the entire process is. Whether you are a novice rider or an experienced biker who commutes and goes on a regular bike ride, knowing how to remove, put up a new bike seat and adjust its height is extremely important.
From taking off the old bike seat to replacing it with a new one, it is pretty simple to install a saddle if you follow each step diligently because manufacturers have designed it to be so effortless. With the help of this article, you will hopefully be able to ensure your safety and comfort by efficiently installing an appropriately-designed saddle.
FAQs
Should a bike seat be angled up or down?
A saddle angle that supports your sit bones efficiently is of the utmost importance. If your bike seat is angled far too upwards, you will have to ride in an improper posture and require more pedaling effort. This position may strain your shoulders, back, and neck as you try to overextend your arms to reach the handlebars.
Similarly, if the nose of your saddle is pointed down, your arms and wrists will have to withstand most of your weight, which can be uncomfortable. Therefore, your bike seat should be angled in a way that evenly distributes your weight throughout the saddle.
How do you determine saddle position?
Having the correct saddle position is very important for a comfortable ride. To determine the ideal position, start by measuring the length of your inseam using a ruler and multiply this number by 0.887.
From the axle of the bottom bracket, measure till the topmost part of the saddle. Keep extending the measuring tape until you reach the ideal length you had calculated. You can then adjust the height of your saddle accordingly.
Should you be able to touch the ground when sitting on your bike?
For an ideal position that is comfortable, your feet should be able to reach the ground while sitting on the saddle. However, only your tippy-toes should be able to touch the floor. This means that your ankles should be flexed while the tips of your toes are pointing downward and touching the road.
If you are unable to touch the balls of your feet to the ground, your saddle may be too high. At the same time, being able to put your entire feet on the ground means your saddle is too low.


